| Location: > Support > Entourage X, Mac Site Map |
Entourage X v10.x (Mac) - Account Setup
If you're having difficulty setting up your email account with Entourage X version 10.x, follow these instructions.
The following example is illustrated using Entourage X v10.0.0.
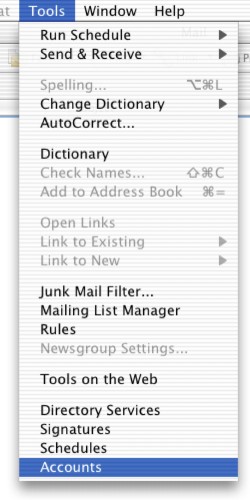
Select Tools...Accounts...
This will bring up the following window:
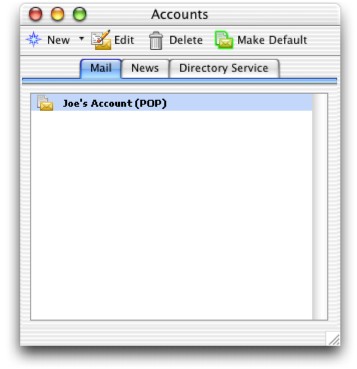
Make sure the Mail tab is selected and then click New to create a new e-mail account. The following window may come up:

Click Configure account manually to bring up the following dialog box:
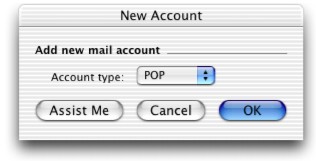
**NOTE: You may skip right to this dialog box rather than go through the Account Setup Assistant wizard. If that is the case, simply proceed from this dialog box.
| Account Type | The account type is POP |
After selecting POP click OK to bring up the following window:
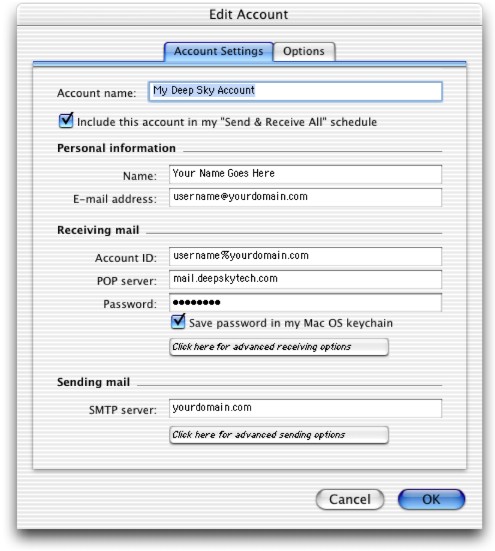
Fill in the following information:
| Account name | The account name needs only to be a name by which you will recognize the account (e.g. My Deep Sky Account) |
| Name | Put your full name here (e.g. Joe Smith) |
| E-mail address | Your email address is username@yourdomain.com |
| Account ID | Your POP3 Account ID is username%yourdomain.com |
| POP server | Your POP3 Host is mail.deepskytech.com |
| Password | Your password is personally given to you |
| SMTP server | Your SMTP server is yourdomain.com |
Now click on the button under SMTP server labeled Click here for advanced sending options and the following dialog box comes up:
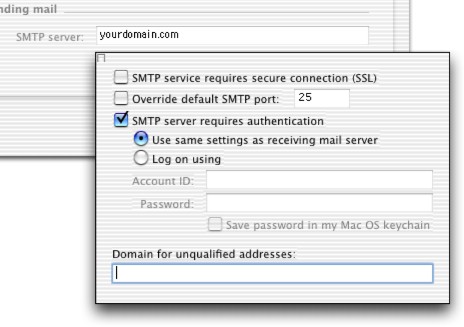
Make sure to check the box next to SMTP server requires authentication and you can select Use same settings as receiving mail server. The settings are the same:
| Account ID | Your POP3 Account ID is username%yourdomain.com |
| Password | Your password is personally given to you and is the same as above. |
Strike the Return key to save those settings and return to the previous window. Now click on the Options tab and the window looks as follows:
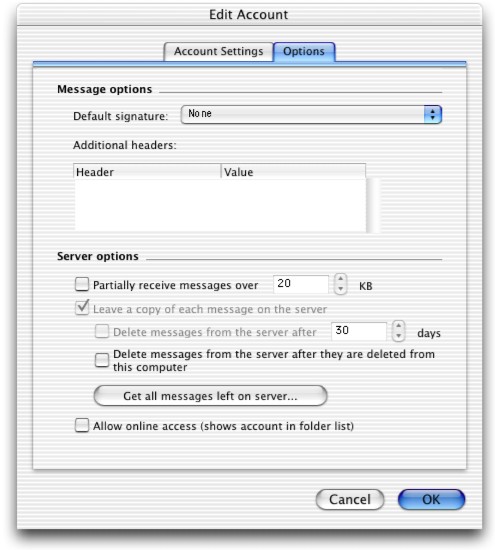
If you can, make sure the box next to Leave a copy of each message on the server is unchecked.
**NOTE: Once your email client pulls the message from the server, regardless of what may be selected here, the message is immediately and automatically deleted from the server.
Click OK to save these settings and exit this window. You will again see the following window, only now it looks as follows:
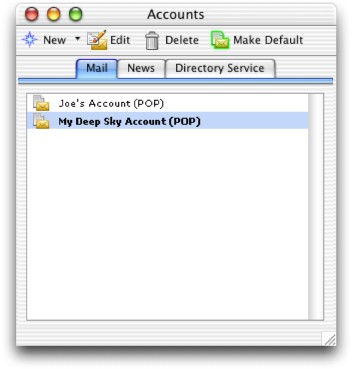
Make sure the account you just created (My Deep Sky Account in this case) is selected and click on the button for Make Default. The default account is the account name in bold. Exit out of this window and you can now send and receive email with your Deep Sky account.